Why tumbler photo engraving is harder than flat work
Three things change the moment you move a portrait from a flat sheet to a 20 oz stainless tumbler on a rotary attachment:
- The portrait gets small. On a plaque you might engrave a face 6–8 inches tall. On a tumbler the usable portrait height is usually 2.5–3.5 inches. Every flaw in the source photo — soft focus, compression artifacts, a half-shadowed cheek — gets compressed into a tiny area where the eye goes straight to the face.
- The surface curves. A rotary laser unrolls your artwork around the cylinder. The engraving itself stays dimensionally correct, but a viewer only ever sees about a third of the wrap at once, and anything wide visibly bends away at the edges.
- Metal has no midtones of its own. Wood shades from light to dark as the laser burns deeper. On a powder-coated tumbler the laser mostly does one thing: removes the coating and exposes bright steel. Your grayscale photo gets translated into dots of “coating on” and “coating off” — so the contrast structure of the image decides everything.
In short: the tumbler magnifies image problems — which is why photo prep matters more here than in any other laser product.
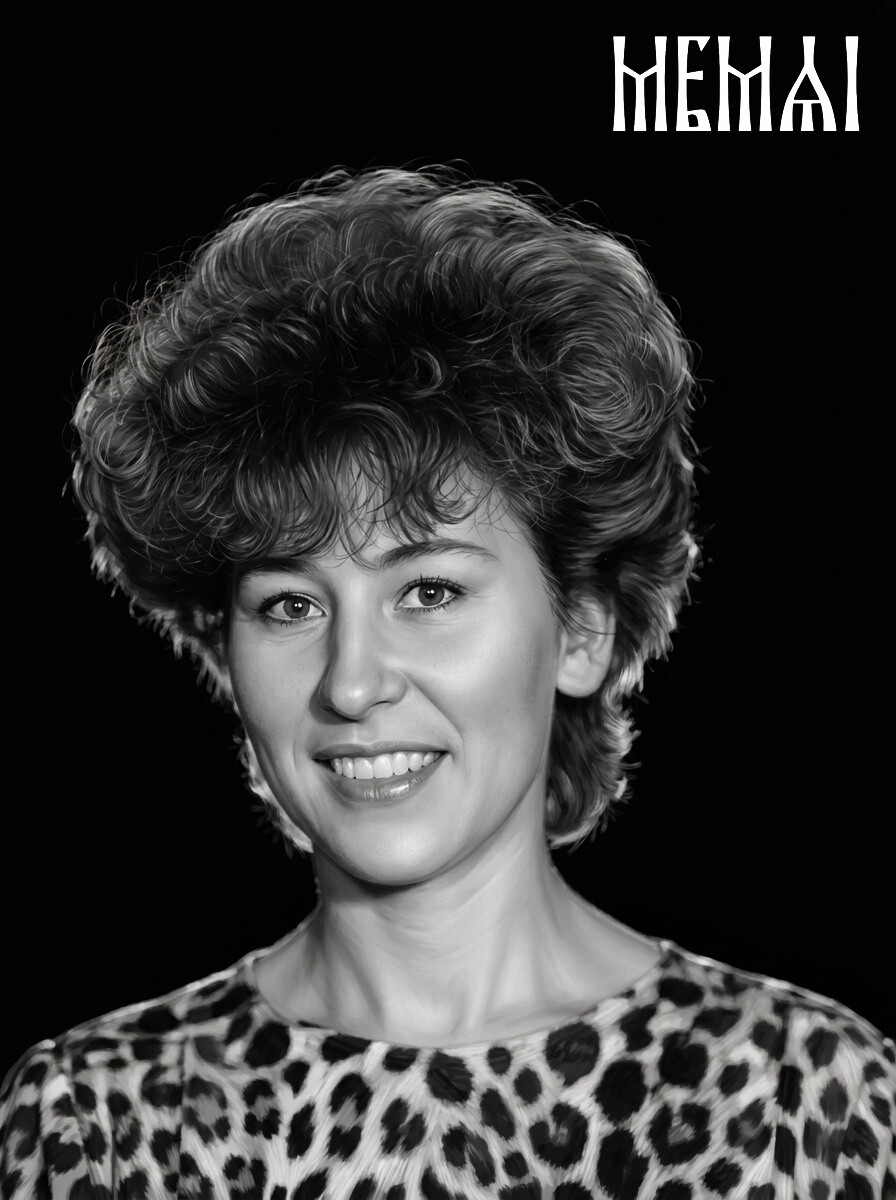
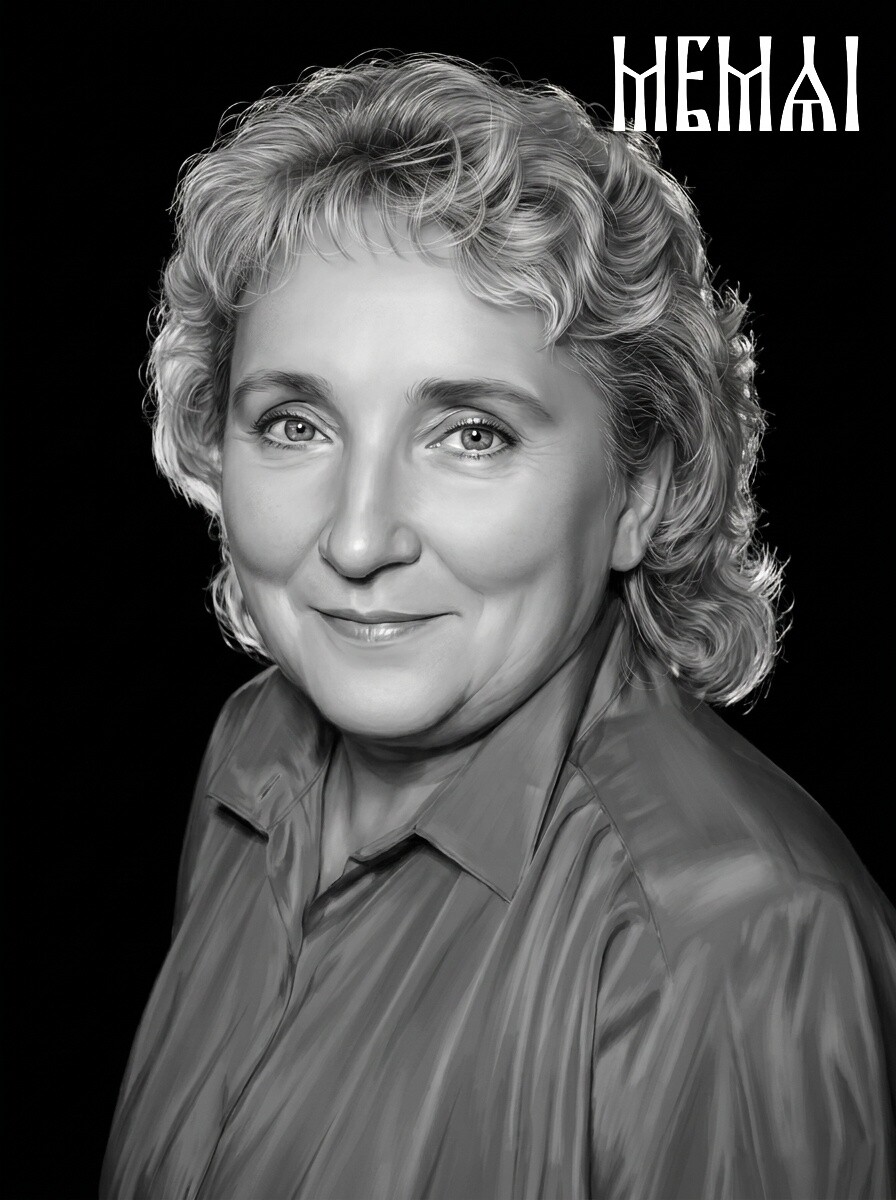
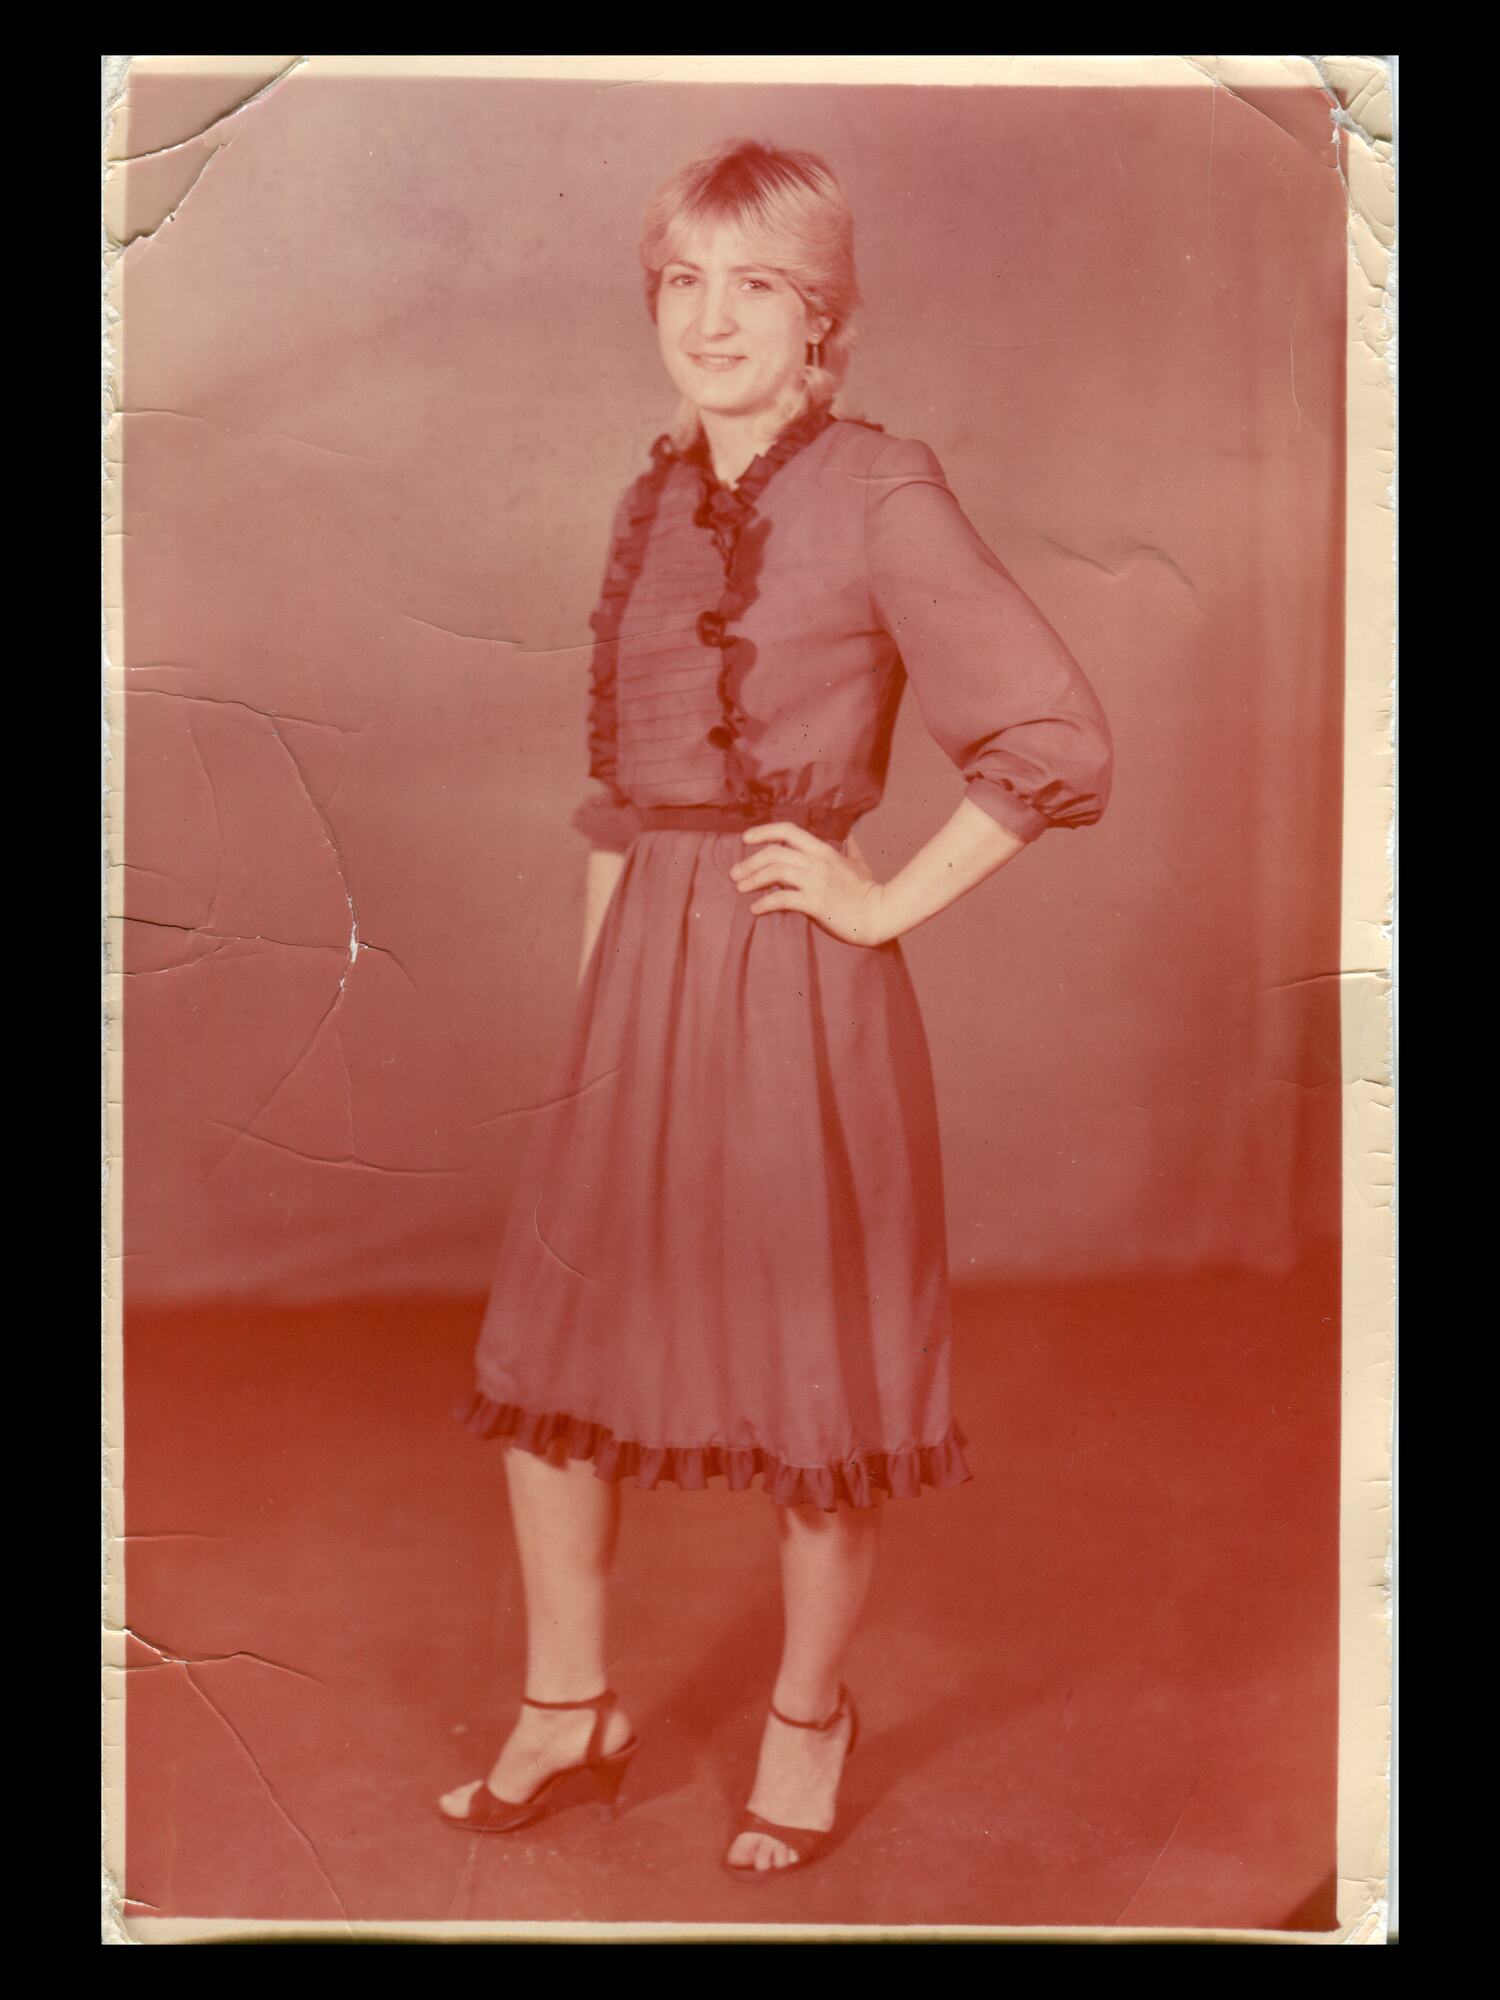
 Before
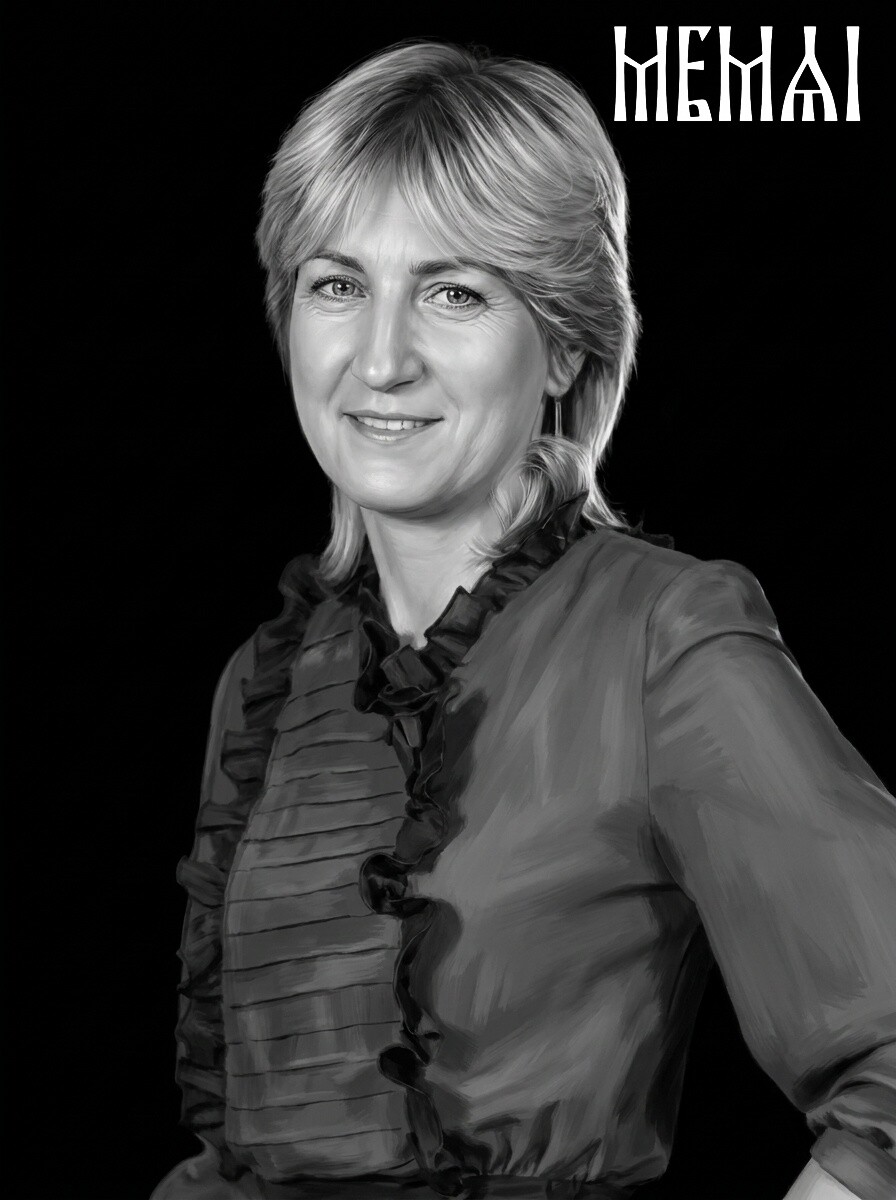
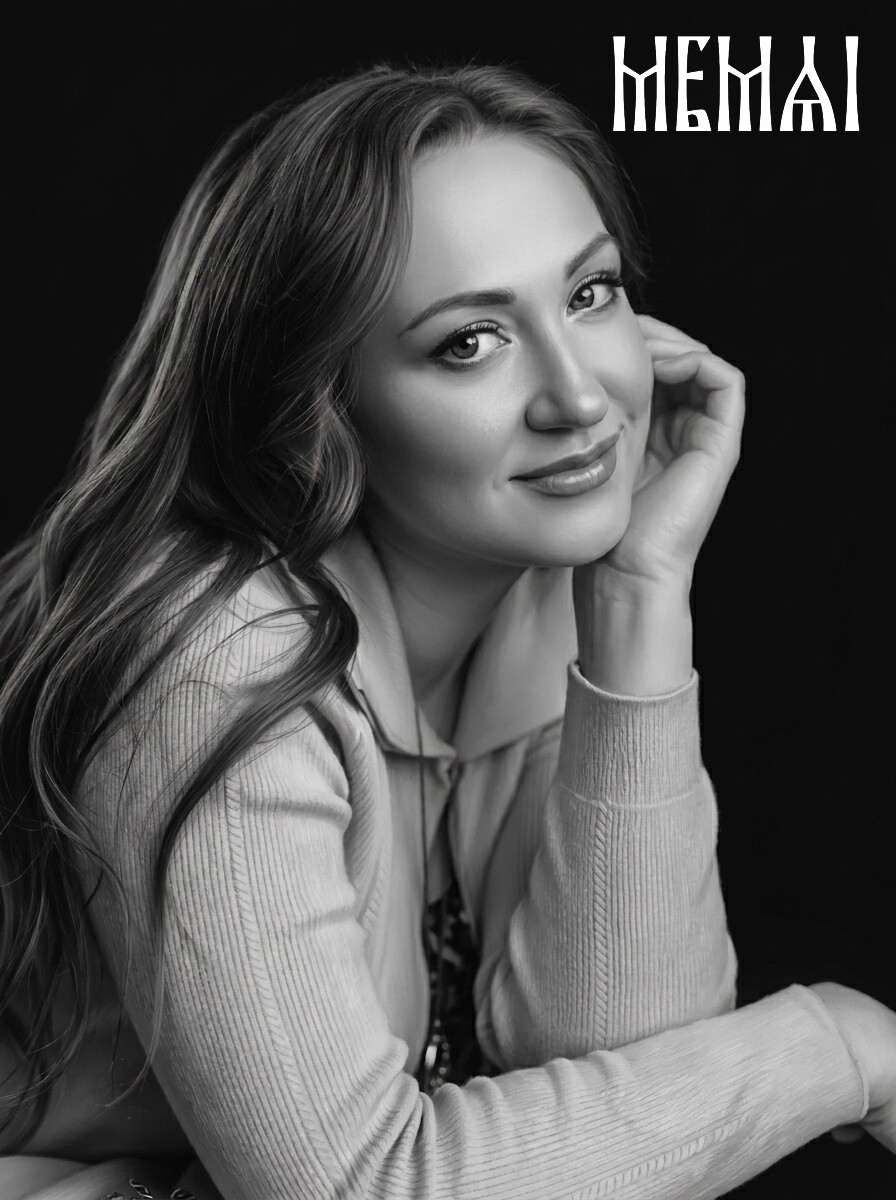
 After
After
Know your surface: powder-coated vs. bare stainless
Most tumbler photo work today happens on powder-coated stainless steel (Polar Camel, Maars, RTIC and the endless blank suppliers). The coating is good news: the laser strips it cleanly and the silver steel underneath becomes your “white.” Dark areas of the photo stay the coating color. A black or navy tumbler with a well-prepped portrait produces a striking, almost photographic result.
Bare stainless is a different game. A diode or CO2 laser cannot engrave raw steel directly — sellers use a marking spray or bonding agent (LaserBond and similar) that fuses a dark mark onto the metal. That flips the logic: your marks are dark on a bright surface, closer to how wood behaves. If you switch between coated and bare blanks, remember the polarity flips — invert the image first, or a portrait prepped for one will look wrong on the other.
Either way the prep goal is identical: a clean, sharp, well-separated face with strong midtone structure. If you have already read our wood engraving prep guide, the logic is the same — only the polarity and the size budget change.
Sizing for the cylinder: keep the face inside the “window”
A tumbler is a cylinder roughly 3.5 inches in diameter, which gives you an 11-inch wrap — but you should not use it all for a photo. Practical rules that hold up across thousands of Etsy listings:
- Portrait height: 2.5–3.5 inches for a 20–30 oz tumbler. Bigger looks impressive flat on screen and awkward in the hand.
- Keep the subject inside about 90° of the wrap (roughly 2.75 inches wide). That is the zone a person actually sees when they look at the cup. Faces that spill wider appear to wrap out of view.
- Crop tight: head and shoulders. Full-body shots waste your tiny pixel budget on clothing and background. At three inches tall, the face should dominate the frame.
- One face per side. Couples work as two separated portraits or one very tight two-person crop. Group photos of four are a refund waiting to happen — pull the one person that matters out of the group instead.
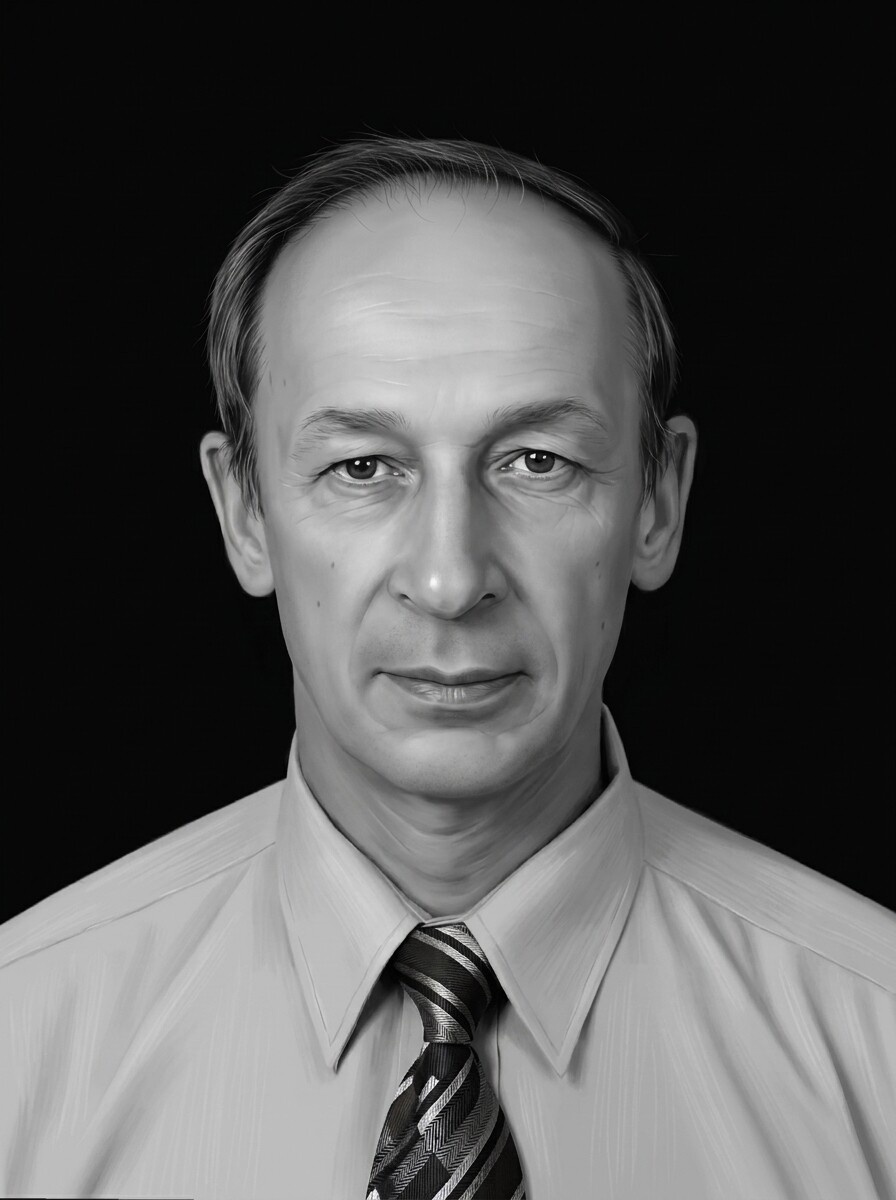
 Before
 After
After
Resolution: the math customers’ photos usually fail
For a clean engraving you want around 300 DPI at final size. A 3-inch portrait therefore needs roughly 900×1100 clean pixels of face — not of a whole backyard scene where the face is 150 pixels across. And “clean” is the hard part: customers send screenshots of screenshots, Facebook thumbnails and messenger-compressed images where the pixels are there but the detail is not.
Sharpening filters cannot recover what compression destroyed. This is where AI restoration earns its keep: it rebuilds facial detail, removes noise and compression blocking, and upscales the face to engraving-grade resolution while keeping the person recognizable. If the eyes are soft in the source, fix that before anything else — on a three-inch portrait, the eyes are the entire product.
Contrast and background: what the laser actually needs
Powder coat gives you two tones and a dither pattern in between. To survive that translation the image needs:
- A separated subject. Busy backgrounds turn into gray noise that competes with the face at small sizes. Remove the background entirely or replace it with a soft dark halo — on a colored tumbler, a removed background means the coating itself becomes the backdrop, which looks intentional and premium.
- Open midtones in the face. Flat, low-contrast portraits engrave as a featureless patch. The face needs defined shadow structure — cheekbones, nose, eye sockets — without crushing blacks or blowing highlights.
- No harsh side lighting. A half-dark face reads as a defect at tumbler scale. Retouching should even out the lighting while keeping the likeness true.
And yes — you still dither. Jarvis, Stucki or Newsprint in LightBurn remains the right final step for the machine. But dithering is a translator, not a repairman: it converts grayscale to dots and faithfully reproduces every flaw you feed it. If your engraved photos come out muddy even with “correct” settings, the problem is almost always upstream — we break down the failure modes in Why Your Laser Engraved Photo Looks Bad.
Try it free — first photo on us
Upload a customer photo and get an engraving-ready portrait in about 5 minutes: AI restoration, retouching and background removal tuned for laser machines. No Photoshop, no signup.
Prepare my photo freeThe prep workflow, step by step
- Triage the source. Ask the customer for the original photo, not a screenshot. If several are offered, pick the one with the sharpest eyes and the most even light — resolution matters less than face detail, since restoration can upscale.
- Restore. Fix blur, noise, compression artifacts, scratches on scanned prints. For older photos this step is non-negotiable — a large share of tumbler orders are memorial pieces made from decades-old prints.
- Retouch for engraving. Even out lighting, open the midtones, define the facial structure. The target is engraving contrast, not Instagram glamour — generic beauty filters produce a glossy flatness that dithers badly.
- Remove the background. Isolate the head and shoulders, optionally with a soft halo. On powder coat, empty background = untouched coating = clean result.
- Size and place. Crop to the final aspect, scale to 2.5–3.5 inches at 300 DPI, keep the face inside the 90° viewing window.
- Dither and burn. Import into LightBurn or your machine software, apply your proven dither and settings for that blank, and always test on a scrap or the bottom of a reject cup when trying a new coating.
Steps 2–4 are the hours-in-Photoshop part — and the part MemAI Studio automates. The full restore → retouch → background removal pipeline runs in about five minutes in the browser and outputs a machine-ready file you drop straight into LightBurn. The step-by-step logic is the same as in our complete photo prep guide; the tumbler just tightens the tolerances.
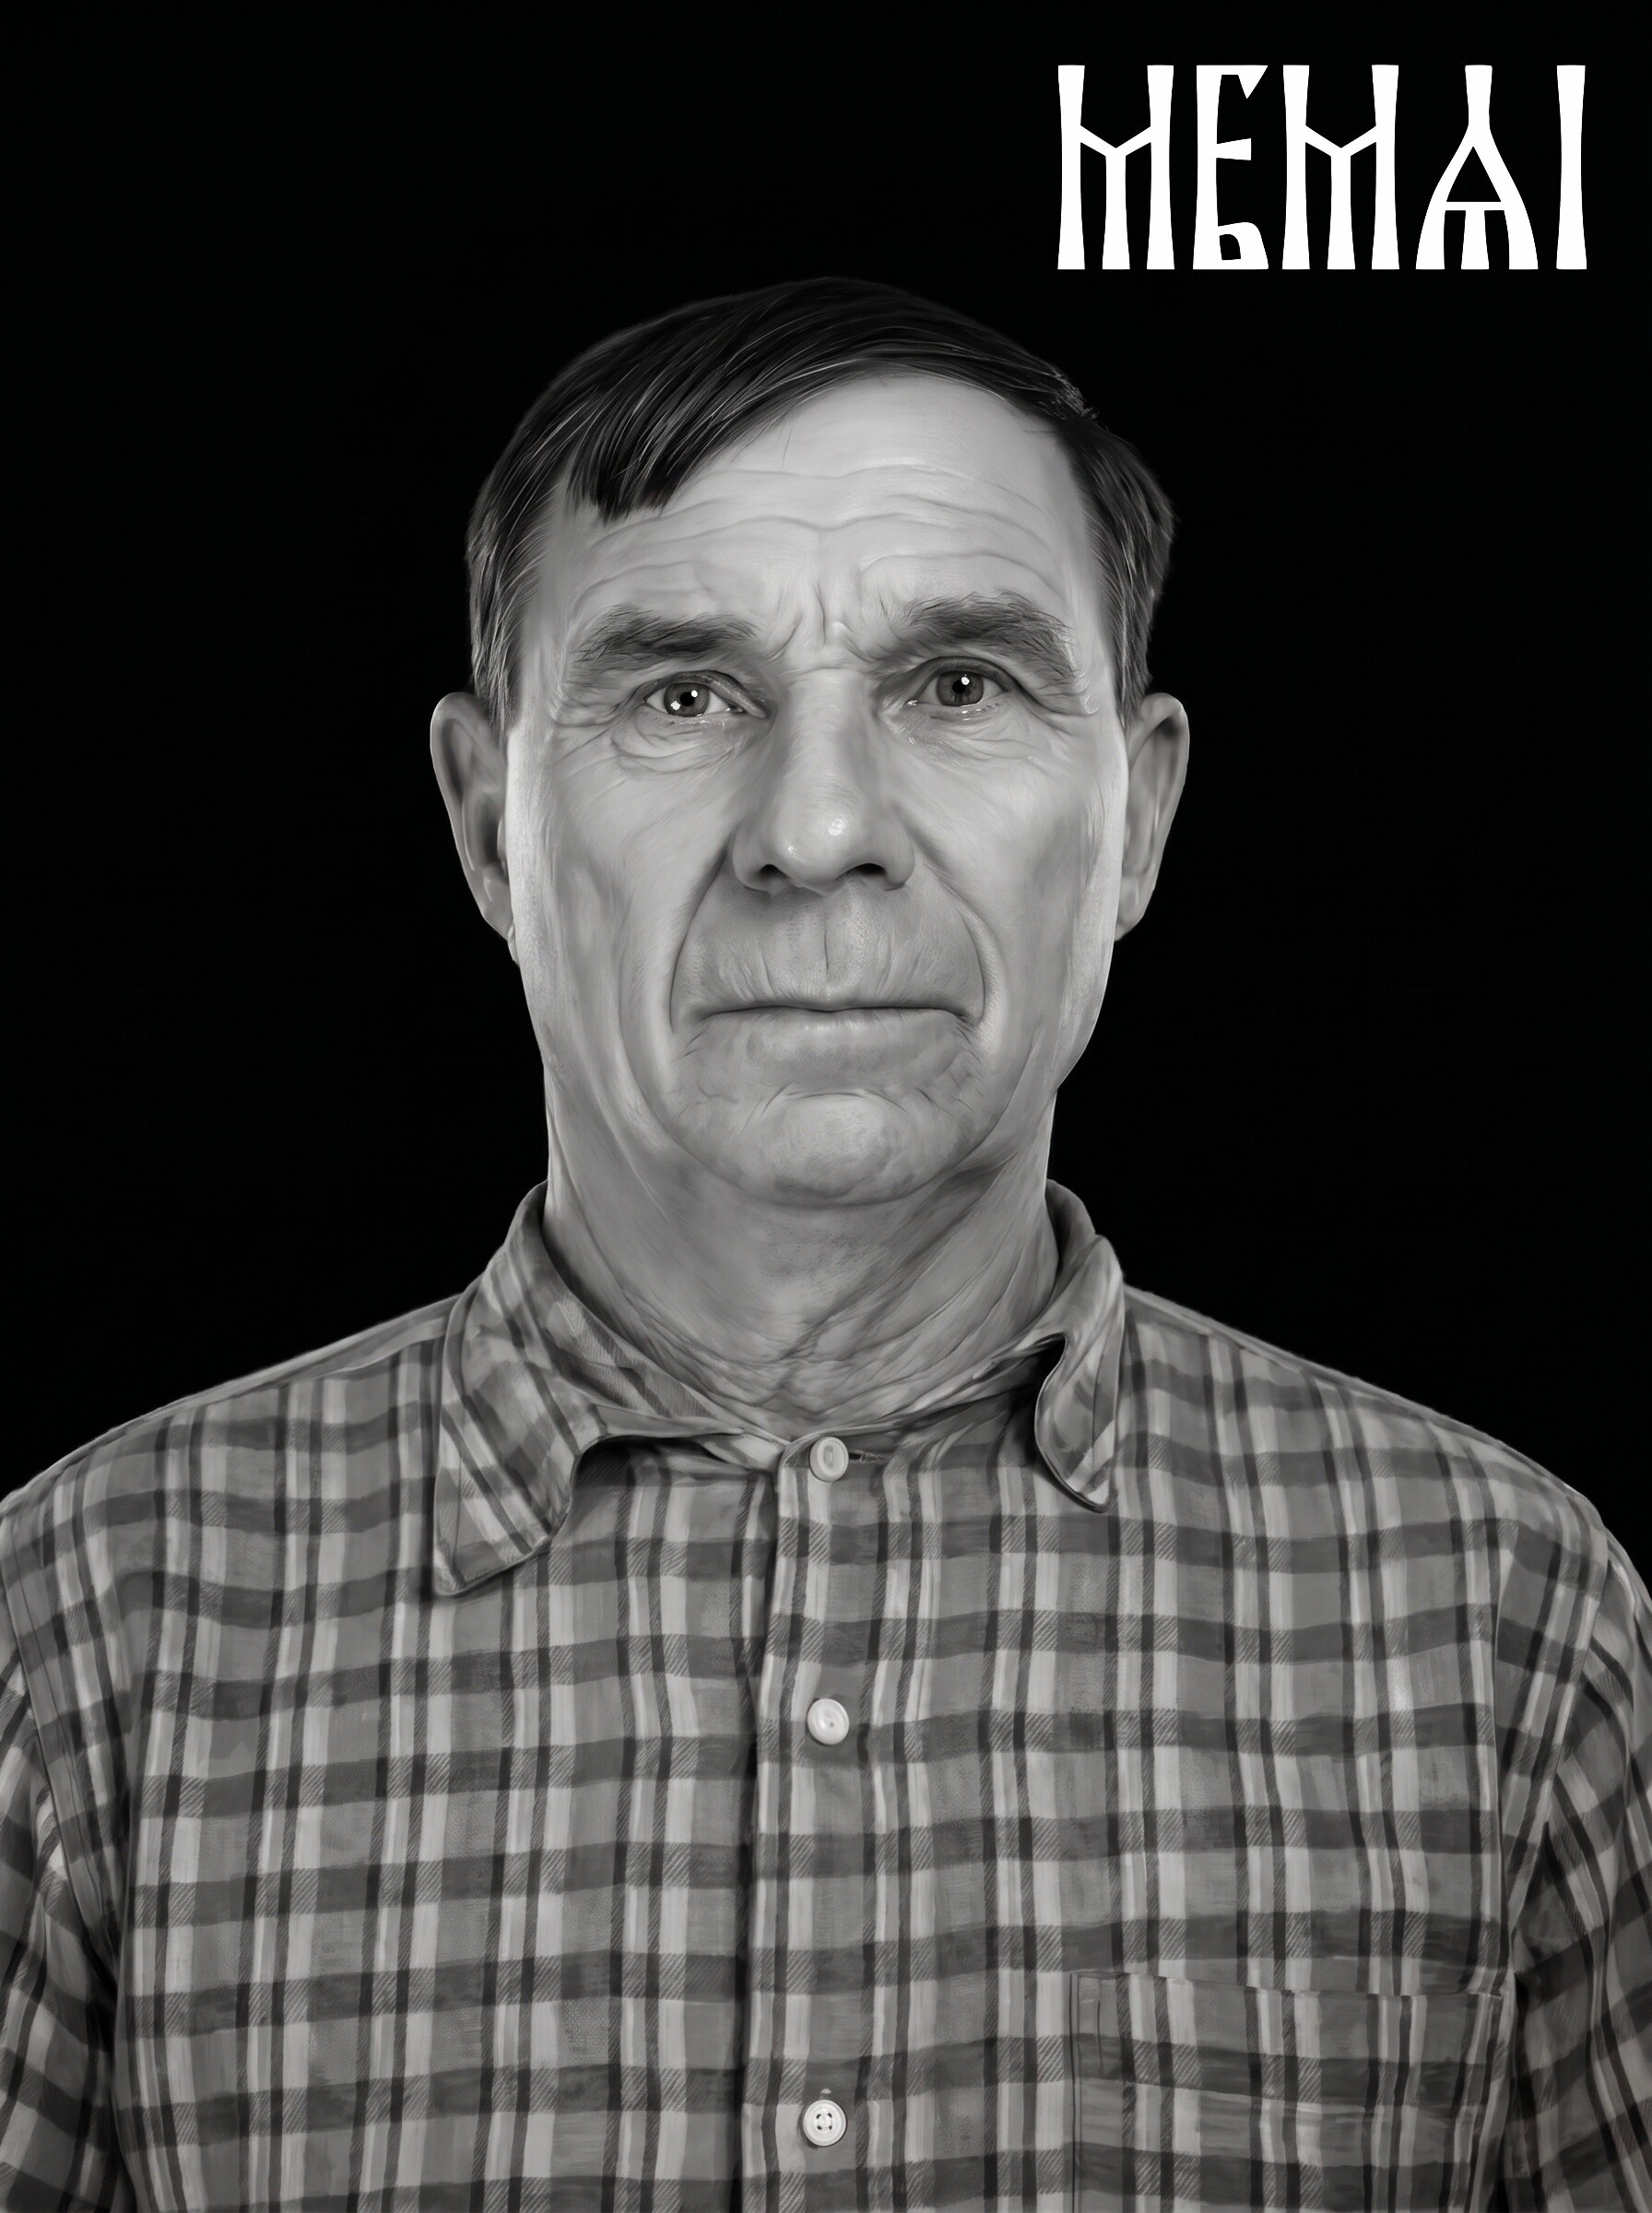
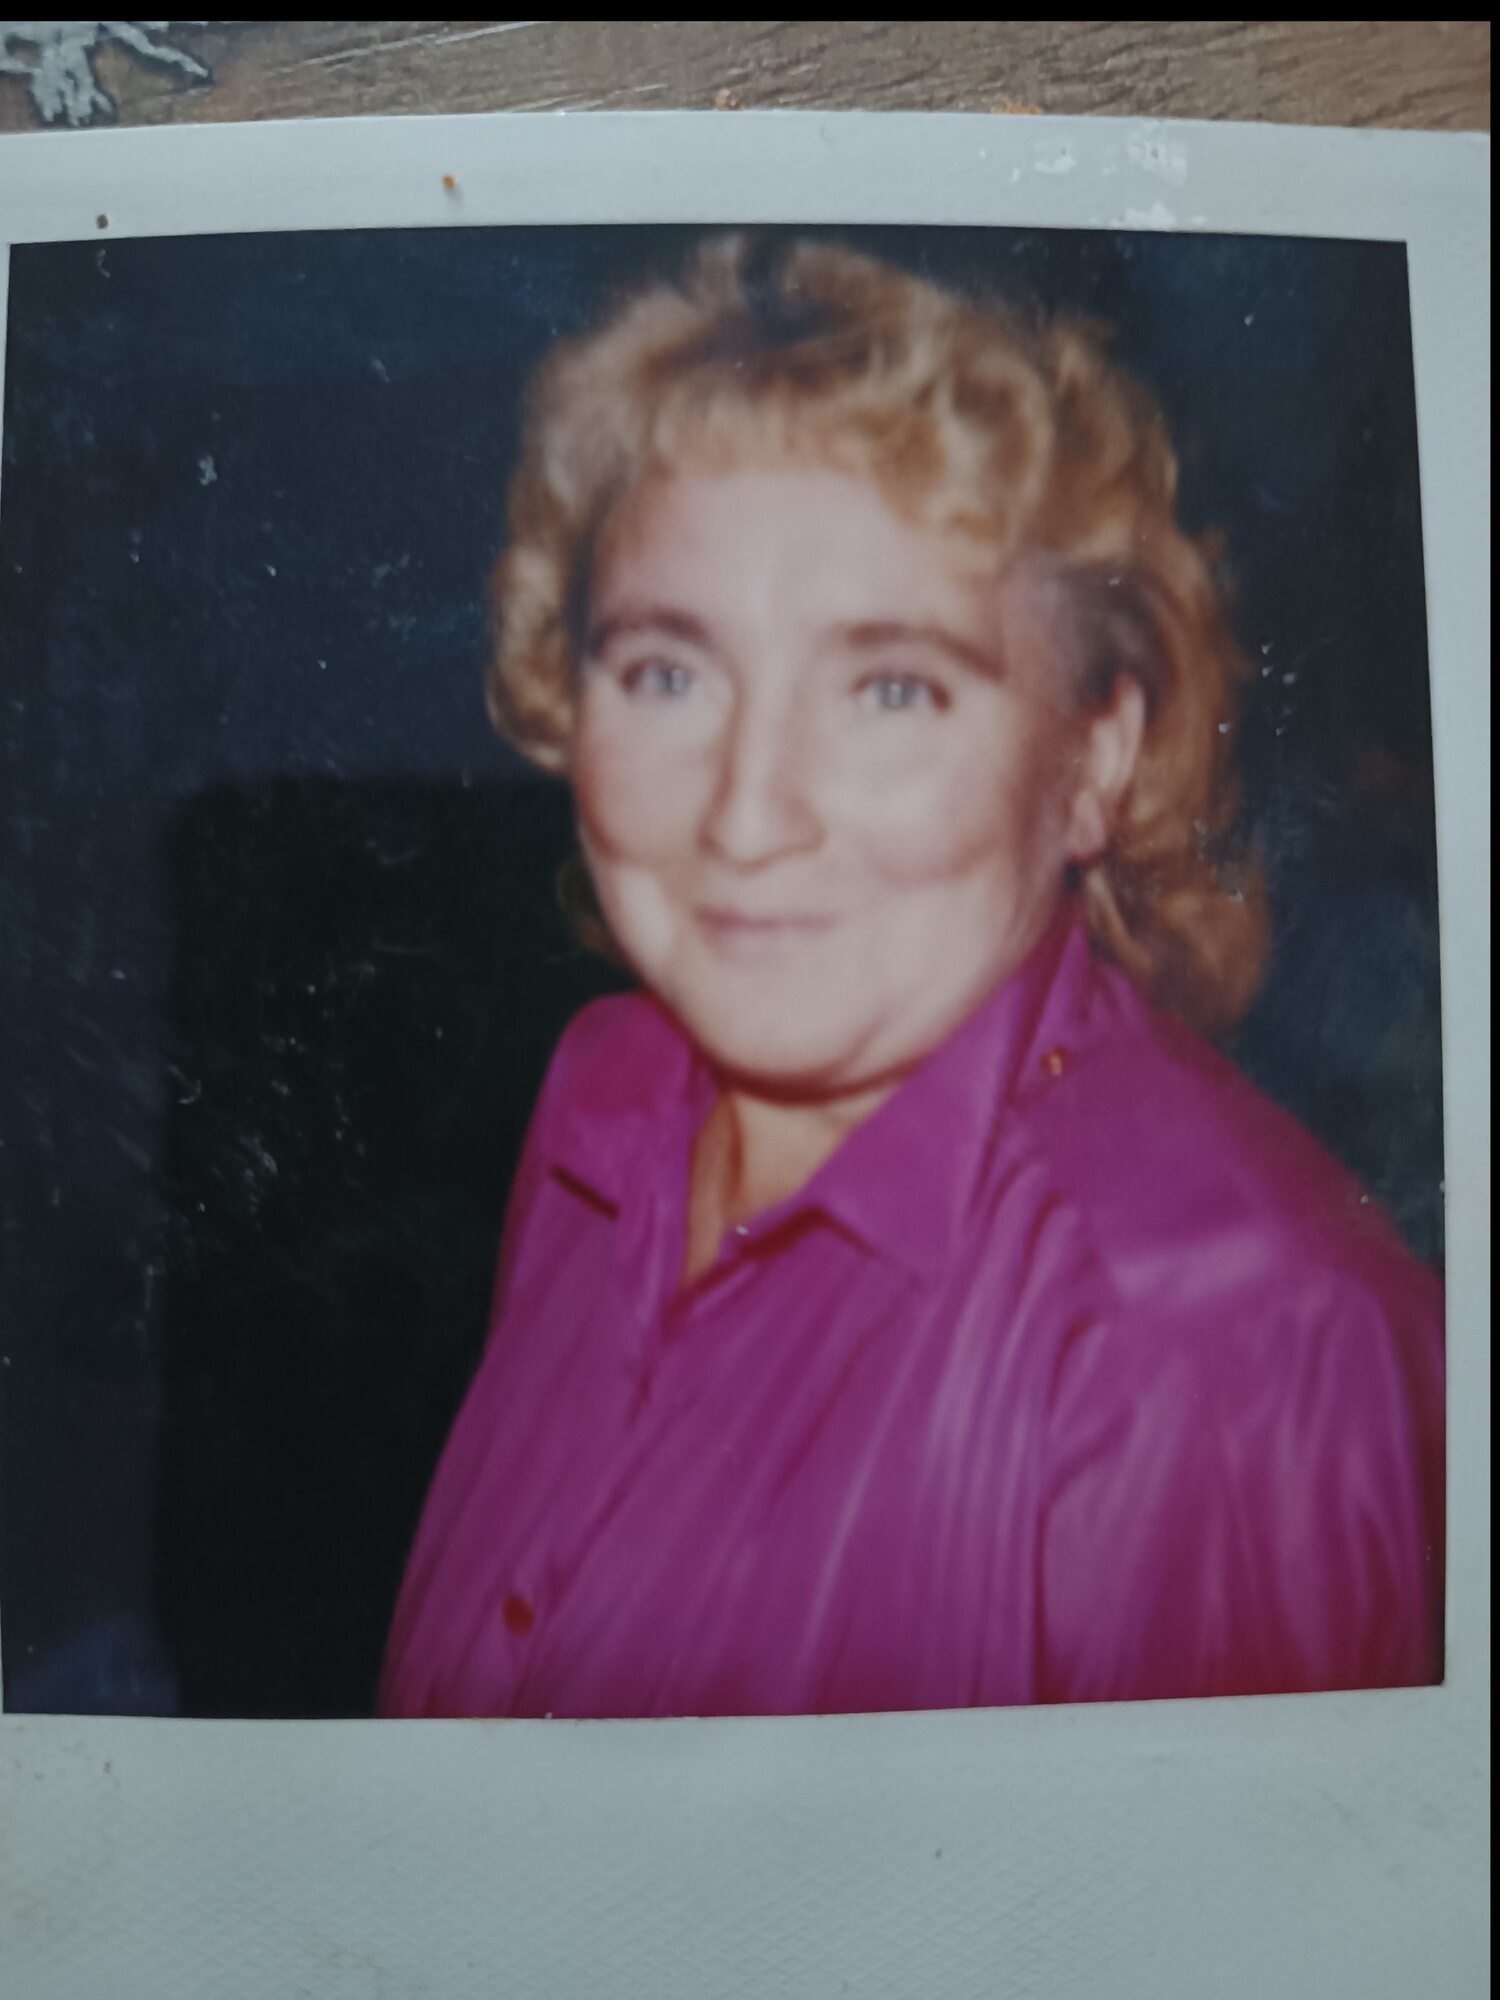
 Before
 After
After
For Etsy sellers: photo prep as a production line
If you sell photo tumblers, image prep is not a craft problem — it is a throughput problem. Every order arrives with a different photo, and most of them are bad. The sellers who scale are the ones who turned prep into a repeatable step instead of a nightly Photoshop session:
- Speed per order. At ~5 minutes per photo, prep stops being the bottleneck. Ten orders no longer mean a lost evening — you upload while the laser runs the previous cup.
- Consistency. The same pipeline produces the same contrast profile every time, so your proven laser settings keep working from order to order. Your listing photos and your delivered product finally match.
- Predictable cost. Affordable per-photo pricing slots straight into your margin math on a $35–60 tumbler — compare that with $15–50 and a day of turnaround for a human retoucher, or unbillable hours of your own.
- Fewer awkward refusals. “Sorry, this photo won’t work” loses sales. Restoration rescues a large share of the screenshots and faded prints customers send, so you can say yes more often.
One more thing worth knowing about this niche: many photo tumbler orders are memorial pieces — a cup with a lost parent, grandparent or pet. These photos are often the oldest and most damaged, and the emotional bar for “it still looks like them” is the highest. Identity-preserving restoration matters more here than anywhere else; if memorial work is a meaningful part of your shop, see our dedicated page on memorial portrait preparation.
Quick pre-flight checklist
- Face sharp, eyes clearly defined — after restoration if needed
- Tight head-and-shoulders crop, one subject
- Background removed or replaced with a soft halo
- Even lighting, open midtones, no crushed blacks
- 2.5–3.5 in tall, ~300 DPI, inside a 90° wrap window
- Polarity checked: coated blank vs. bonding spray on bare steel
- Dither applied in your laser software, settings tested on that exact blank
FAQ
What resolution does a photo need for tumbler engraving?
Aim for at least 300 DPI at the final engraved size. A 3-inch portrait needs roughly 900×1100 pixels of clean, sharp face detail. Screenshots and messenger-compressed images usually fall short — restore and upscale the photo first, then size it for the wrap.
Can I engrave a photo on a powder-coated tumbler?
Yes — powder coat is the most forgiving surface for photo engraving. The laser removes the coating and exposes bright stainless steel, so light areas of the photo become silver and dark areas stay the coating color. A high-contrast, cleanly retouched portrait engraves best.
How big should the portrait be on the tumbler?
Most 20–30 oz tumblers look best with a portrait 2.5–3.5 inches tall, cropped tight to head and shoulders. Wider designs visibly bend around the curve, and a viewer never sees the whole wrap at once — keep the face inside roughly 90 degrees of the cylinder.
Do I still need to dither the photo in LightBurn?
Yes — dithering (Jarvis, Stucki or Newsprint) is still how the laser turns grayscale into dots. But dithering only translates the image; it cannot fix a blurry face, a busy background or flat contrast. Restore, retouch and remove the background first, then let LightBurn handle the dither.